

Transforming your bike into a custom masterpiece can be a rewarding experience, especially when you take on a DIY project. Painting your bike not only enhances its appearance but also provides an opportunity to express your personality and creativity. With the right techniques and materials, you can achieve a professional-looking finish that stands out on the road.
Before diving into the painting process, it’s crucial to understand the various types of paint available for bike projects. Different finishes, such as matte, gloss, and satin, can dramatically impact the final look of your custom bike. Additionally, using the right primer and clear coat will not only prolong the life of the paint job but also provide added protection against environmental elements.
This guide will provide you with invaluable tips and recommendations for choosing the best materials, as well as step-by-step instructions for achieving a flawless paint finish. Whether you’re a seasoned DIYer or a beginner eager to learn, these insights will help you create a stunning and unique bike that reflects your personal style.
Choosing the Right Paint for Your Bike Frame
Selecting the appropriate paint for your bike frame is crucial to achieving a professional-looking DIY project. There are various types of paint available, and each serves different purposes, so understanding what suits your needs is essential.
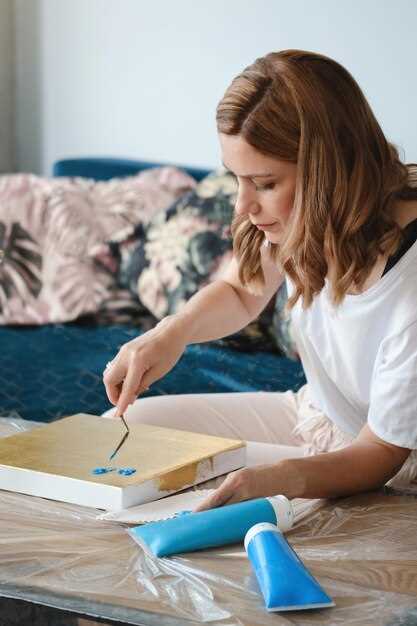
Acrylic Paint: Acrylic paint is a popular choice for bike frame painting due to its versatility and ease of use. It dries quickly, allowing for faster project completion. Additionally, acrylic paint can be easily mixed to create custom colors, making it ideal for personalized designs. Ensure you apply a clear coat afterward to enhance durability.
Enamel Paint: For a long-lasting finish, enamel paint is highly recommended. This paint type provides a hard, glossy finish that resists scratches and fading, making it suitable for bikes subjected to harsh weather conditions. However, enamel takes longer to dry compared to acrylic, so factor in the extra waiting time when planning your job.
Powder Coating: If you are looking for a more durable option, consider powder coating your bike frame. This method involves applying a dry powder that is then cured under heat, resulting in a tough, resilient finish. Although more complex than traditional paint, powder coating offers excellent protection and can be achieved in a variety of custom colors.
Spray Paint: Spray paint is an easy-to-use option for those new to bike painting. It provides even coverage and is excellent for reaching intricate areas of the frame. When selecting spray paint, ensure it is specifically designed for metal surfaces. Multiple thin coats are preferable to achieve the best finish.
Before committing to any paint, consider the current condition of your bike frame. Proper surface preparation–such as cleaning, sanding, and priming–is essential, regardless of the paint type you choose. This will not only improve adhesion but also ensure a smooth and professional-looking finish for your custom bike design.
Preparing Your Bike for a Custom Paint Job
Before starting your DIY custom paint job, it’s essential to prepare your bike thoroughly. Proper preparation ensures the best possible results and longevity of the new paint. The first step is to clean your bike meticulously. Use soap and water to remove dirt, grease, and old wax. Pay special attention to crevices and tight spots where dirt may be trapped.
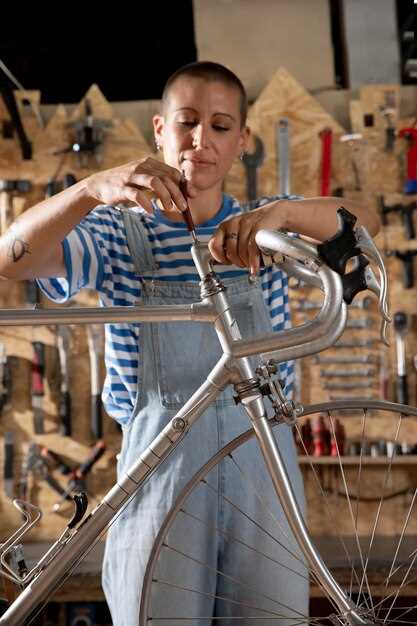
Next, disassemble the bike to prevent any overspray on components you don’t want to paint. Remove the wheels, seat, handlebars, and any accessories. If your bike has decals or stickers, they should be removed as well, as they can interfere with the paint application.
Assess the frame for any damage. If there are scratches, dings, or rust spots, repair them before painting. Sand down any rough areas using a fine-grit sandpaper to create a smooth surface, which is crucial for the paint to adhere properly.
After sanding, clean the frame again with a degreaser or rubbing alcohol to eliminate any dust or residue. This step is vital for ensuring the paint sticks well. Once the frame is clean, consider applying a primer suitable for your bike’s material. This layer will enhance adhesion and help the custom paint color to stand out.
Finally, make sure you have the right tools and materials for the job, including high-quality spray paint, a mask to protect yourself from fumes, and gloves to keep your hands clean. With your bike properly prepared, you are now ready to start your exciting DIY custom paint job!
Finishing Techniques for a Durable Bike Paint Job
Achieving a professional-looking paint job on your bike requires careful attention to finishing techniques. These techniques not only enhance the visual appeal of your custom bike but also significantly improve the durability of the paint.
1. Clear Coat Application: A high-quality clear coat is essential for protecting your paint job from scratches, UV rays, and environmental factors. Choose a clear coat designed for outdoor use; this will ensure that your finish remains vibrant and less prone to wear over time. Apply several thin layers rather than one thick coat, allowing adequate drying time between applications for optimal adhesion.
2. Wet Sanding: After your paint has cured, wet sanding with fine-grit sandpaper can create a super smooth surface. This technique eliminates imperfections and prepares the paint for the final clear coat. Always keep the sandpaper wet to avoid damaging the paint underneath and follow up with a polishing compound to restore shine.
3. Buffing: Once your clear coat is dry, buffing can enhance the luster of your custom paint job. Use a dual-action polisher with a soft pad and a high-quality polish designed for automotive finishes. This not only improves gloss but also helps to remove minor scratches and swirls, giving your bike a showroom finish.
4. Applying a Protective Film: For those looking to go the extra mile, consider applying a protective film or vinyl wrap over high-impact areas of your bike. This invisible layer helps guard against chips and scratches, particularly in areas that are prone to wear, such as the frame tube and fork.
5. Regular Maintenance: Finally, maintaining your bike’s finish with regular cleaning and wax application will prolong the life of your paint job. Use gentle, non-abrasive cleaners to avoid scratching the surface and apply a quality automotive wax periodically to keep the paint protected from contaminants.
By implementing these finishing techniques, you can ensure a durable and stunning DIY bike paint job that stands the test of time. Invest time in these steps to enhance both the appearance and longevity of your custom bike paint.