

When experiencing clutch slippage, understanding the role of the transmission and its components is crucial for effective troubleshooting. The clutch serves as a vital link between the engine and transmission, enabling the transfer of power to the wheels when engaged. However, when the clutch fails to engage properly, it can lead to significant performance issues, such as a lack of acceleration or unwanted engine revving.
Identifying the symptoms of clutch slippage is the first step in addressing the problem. Common indicators include a burning smell, difficulty changing gears, or a noticeable decrease in power during acceleration. These issues typically stem from worn clutch plates, insufficient hydraulic pressure, or misadjusted linkage. By recognizing these signs early, vehicle owners can prevent more severe damage to the transmission system and ensure a smoother driving experience.
In this article, we will explore essential checks and effective solutions to fix clutch slippage. From assessing the hydraulic system to replacing worn components, we will provide a comprehensive guide to restore your clutch to optimal function and maintain the integrity of your vehicle’s transmission system.
Identifying Symptoms of Clutch Slip in Your Vehicle
Clutch slip can significantly affect the performance of your vehicle, making it crucial to recognize its symptoms early. One of the primary indicators is a noticeable increase in engine RPM without a corresponding increase in vehicle speed. This can happen when the clutch fails to fully engage, leading to inefficient power transfer from the engine to the transmission.
Another common symptom of clutch slip is difficulty in accelerating. If you find that your vehicle struggles to gain speed even when the accelerator is pressed firmly, it may indicate that the clutch is not gripping properly. This loss of power can be particularly pronounced during hill climbs or while carrying heavy loads.
Additionally, you may experience a burning smell, often described as similar to burnt rubber. This odor can occur when the clutch disc overheats due to excessive slipping. It’s essential to address this issue promptly, as prolonged slipping can lead to more extensive damage.
Pay attention to unusual noises while driving, such as a high-pitched squeal or grinding sounds. These sounds can indicate that the clutch components are wearing out and may be connected to slipping. You should also observe how the clutch pedal feels; if it feels spongy, sticks, or has an unusually high engagement point, this could suggest that the clutch is failing.
Finally, if you notice that the clutch engages late or has a delayed response when shifting gears, it is another sign of potential slippage. Regular maintenance and early identification of these symptoms are crucial to preventing further damage to the clutch system and ensuring the smooth operation of your vehicle.
Common Causes of Clutch Slippage and Their Diagnosis
Clutch slippage occurs when the clutch fails to fully engage, leading to a loss of power transfer from the engine to the transmission. Understanding the common causes of this issue can aid in proper diagnosis and resolution.
One of the primary causes of clutch slippage is worn clutch plates. Over time, friction material can degrade due to normal wear and tear, resulting in insufficient grip. To diagnose this, inspect the clutch plates for signs of thinning or damage. If they appear worn, replacement is necessary.
Another potential cause is an improperly adjusted clutch cable or hydraulic system. If the cable is too loose or the hydraulic fluid level is low, it can prevent the clutch from fully engaging. Check the adjustment specifications provided by the manufacturer and ensure the hydraulic system is functioning correctly.
Overheating can also contribute to clutch slippage. Excessive heat can cause the clutch material to lose its effectiveness. If the vehicle experiences heavy usage, such as towing or frequent stops and starts, monitor for signs of overheating, and consider using a clutch that can withstand higher temperatures.
A failing pilot bearing or throwout bearing can affect clutch engagement. If these components are worn, they can cause misalignment, which leads to slippage. Listen for unusual noises during clutch operation, and check these bearings for consistency and smooth movement.
Oil contamination is another common issue that can lead to slippage. Leaks from the transmission or engine can coat the clutch surfaces, diminishing friction. Inspect the clutch assembly for any signs of oil and address any leaks promptly to prevent further damage.
Lastly, an inappropriate clutch for the vehicle’s application can result in slippage. If the clutch is not rated for the power output or driving conditions, it may struggle to engage properly. Confirm that the installed clutch is compatible and rated for the specific requirements of the vehicle.
The Step-by-Step Guide to Repairing Clutch Slippage
Clutch slippage can lead to significant performance issues, particularly affecting your vehicle’s transmission. To effectively address this problem, follow these detailed steps to repair the clutch system.
Step 1: Identify Symptoms of Clutch Slippage
Before diving into repairs, confirm if you’re experiencing clutch slippage. Typical signs include difficulty in shifting gears, the engine revving without a corresponding increase in speed, or a burning smell from the clutch area.
Step 2: Inspect the Clutch Fluid
Low or contaminated clutch fluid can contribute to slippage. Check the clutch fluid reservoir for proper levels and clarity. If the fluid is dirty or low, replace it with manufacturer-approved fluid.
Step 3: Examine the Clutch Pedal
Inspect the clutch pedal for proper engagement. Ensure it fully releases and returns to its original position. Adjust or repair any damaged components, as incomplete disengagement can cause slippage.
Step 4: Check for Wear on Clutch Components
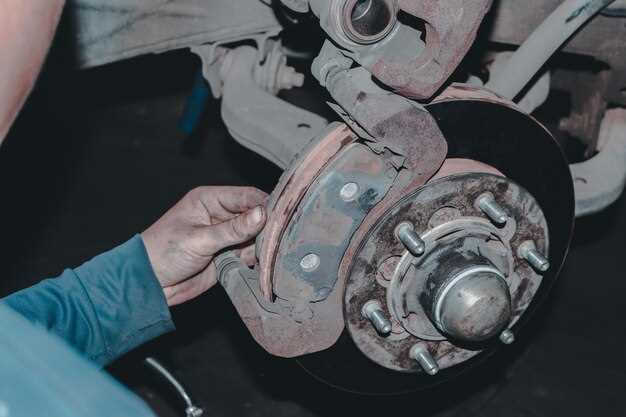
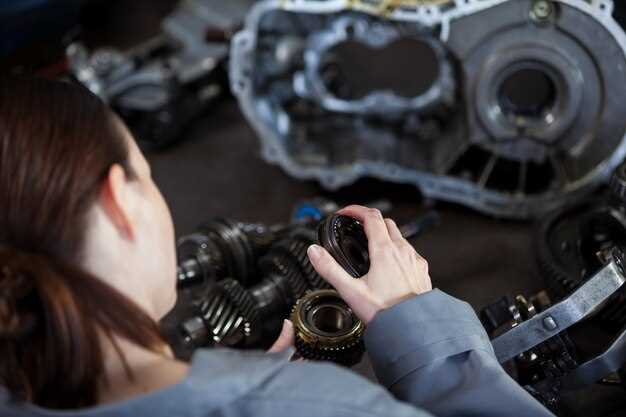
A worn clutch disc, pressure plate, or release bearing can lead to slippage. Remove the transmission to access these parts, inspecting them for signs of wear, glazing, or damage. Replace any worn components as necessary.
Step 5: Inspect the Flywheel
The flywheel should be examined for warping or scoring. If it appears damaged or uneven, consider resurfacing or replacing it to ensure proper contact with the clutch disc.
Step 6: Adjust the Clutch Cable or Hydraulic System
If your vehicle uses a cable to engage the clutch, check for proper tension. Adjust if necessary to ensure full engagement. For hydraulic systems, check for leaks or air in the lines, which can affect performance. Bleed the system if needed.
Step 7: Reassemble and Test
Upon completing inspections and repairs, reassemble the transmission and associated components. Start the vehicle and test the clutch function by engaging and disengaging several times. Monitor for any signs of slippage during operation.
Step 8: Regular Maintenance
To avoid future issues, conduct regular maintenance on your clutch system. Check fluid levels, inspect components, and ensure the clutch operates smoothly. Prompt attention to any early signs of slippage can prolong the lifespan of your transmission.