

Experiencing a flat motorcycle tire while on the road can turn an exciting ride into an unexpected challenge. It’s essential to know how to handle this emergency to ensure you can continue your journey safely and efficiently. The ability to perform a quick repair not only provides peace of mind but also saves time and potentially avoids the hassle of waiting for roadside assistance.
The good news is that with the right tools and knowledge, fixing a flat tire can be a straightforward process. By following a series of steps, you can address the situation confidently, allowing you to get back on the road in no time. Understanding the necessary equipment and techniques is crucial in effectively managing a flat tire in the midst of your travels.
In this guide, we will walk you through the steps of identifying the issue, performing a quick tire repair, and ensuring your motorcycle is road-ready again. With the right approach, you’ll be equipped to tackle this common issue and return to enjoying the freedom of the open road.
Gathering the Right Tools for Tire Repair
When faced with a flat motorcycle tire in an emergency situation, being prepared with the right tools is crucial for a successful fix. Without the appropriate gear, even the most skilled rider may struggle to resolve the issue on the road.
Tire Repair Kit: A good quality tire repair kit should be your first consideration. Look for one that includes tire plugs, a reamer, and an insertion tool. These components are essential for sealing punctures effectively.
Air Pump: Carry a portable air pump to reinflate your tire after you have applied a repair. Opt for a compact electric or manual pump that can easily fit in your storage compartments.
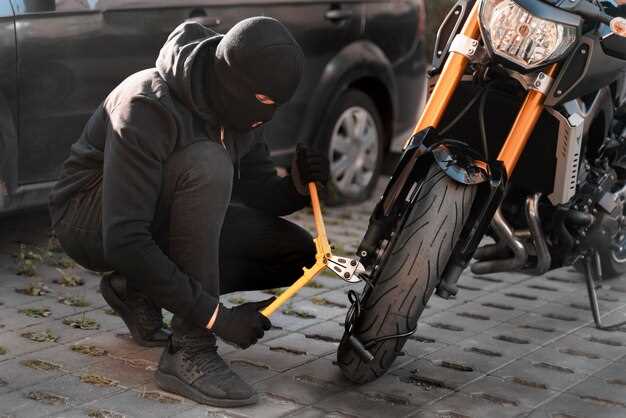
Wrenches and Tools: Make sure to have the necessary tools to remove the wheel if needed. A set of wrenches, including the right size for your motorcycle’s bolts, will help you handle different situations.
Safety Gear: Don’t forget safety gloves and goggles. These items protect you from dirt and sharp edges while making repairs.
Being equipped with the right tools can make the difference between a frustrating situation and a smooth tire fix. Regularly check and maintain your repair kit to ensure all items are in working condition, so that when an unexpected emergency arises, you are ready to tackle it with confidence.
Step-by-Step Guide to Plugging a Flat Tire

When faced with a flat tire during an emergency, knowing how to fix it using a plug can get you back on the road quickly. Follow these steps to ensure a safe and effective repair.
Step 1: Gather Your Tools
Before you begin, make sure you have the necessary tools: a tire plug kit, tire levers, a portable air compressor or a manual pump, and safety gear such as gloves.
Step 2: Locate the Puncture
Carefully inspect your tire to find the source of the leak. Look for foreign objects like nails or screws, or listen for hissing air. Mark the puncture spot for easy identification.
Step 3: Remove the Object
Using pliers, carefully extract any object that has caused the flat. Be cautious not to enlarge the hole while doing this. Once removed, you will notice the tire may start to lose air rapidly.
Step 4: Prepare the Puncture
Take the reamer tool from your plug kit and insert it into the puncture. Twist it back and forth to clean the hole, ensuring a proper fit for the plug. This step is crucial for a secure seal.
Step 5: Insert the Plug
Take a plug from the kit and coat it with tire sealant if provided. Then, use the insertion tool to push the plug into the puncture. Push firmly until about two-thirds of the plug is inside the tire, then remove the insertion tool gently.
Step 6: Trim the Excess Plug
Using a knife or scissors, carefully trim the excess plug sticking out of the tire to the level of the tread. This helps to ensure a smooth surface and minimizes the risk of snagging while driving.
Step 7: Inflate the Tire
Reconnect your air compressor or pump and inflate the tire to the recommended pressure specified by your motorcycle manufacturer. Check for any air leaks around the repair area.
Step 8: Recheck and Ride
Once inflated, recheck the tightness of the plug by feeling for air leaks. If everything is secure, you can safely resume your ride, but remember to visit a professional for a permanent repair as soon as possible.
How to Safely Ride After a Tire Repair
After a tire repair, it’s crucial to ensure your safety before hitting the road again. Start by allowing the repair to set properly and checking that the tire is adequately inflated to the recommended pressure. This step is vital because incorrect pressure can lead to compromised handling and stability.
Next, take the time to perform a visual inspection of the tire. Look for any signs of damage, such as cracks or uneven wear, which could indicate further issues. Ensure that the repair area is sealed and there are no leaks. Feel free to use soapy water to check for any air bubbles that may suggest a slow leak.
When you begin riding, do so cautiously. Gradually increase your speed to gauge how the motorcycle handles with the repaired tire. Pay extra attention during turns and braking; these situations can reveal if the fix is secure and if the tire is performing correctly.
It’s advisable to avoid riding long distances immediately after a tire repair, especially if it was a temporary fix. Instead, plan to take a shorter, controlled ride in familiar surroundings. This allows you to monitor the tire’s performance and assess any potential issues without straying too far from help.
Finally, stay alert for any unusual sensations while riding, such as vibrations or pulling to one side. If any issues arise, pull over safely and inspect the tire once more or seek professional assistance. Being proactive about post-repair performance will enhance your safety and ensure a smoother ride.